
Guest Flow
What your guests see: from tapping the event card to scanning the QR code for their photo.
Starting a session
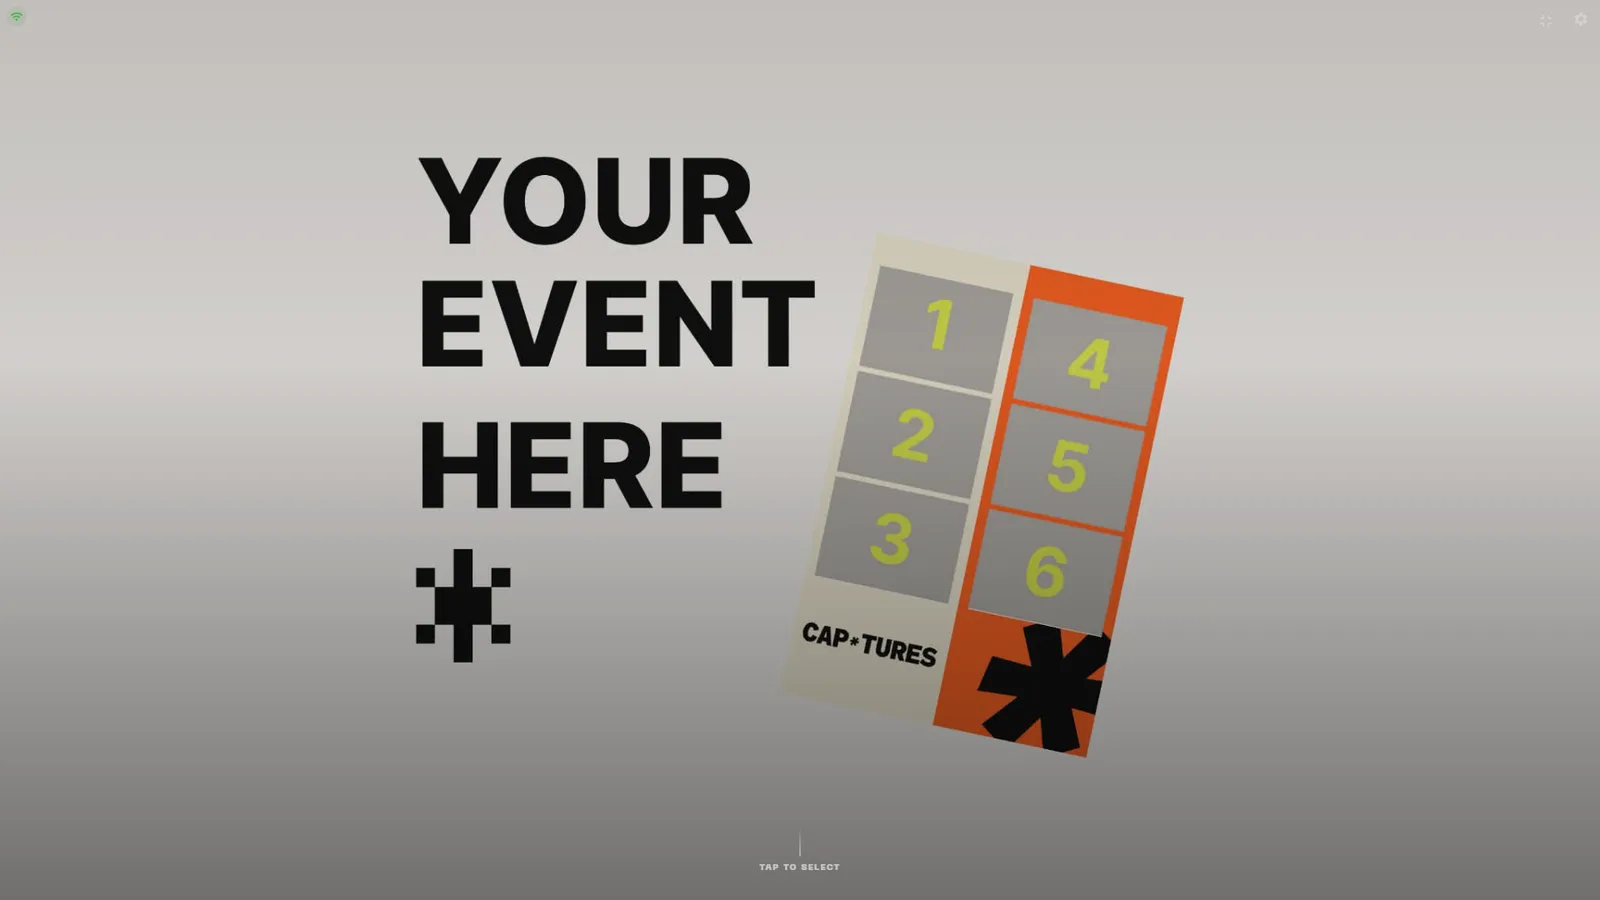
Tap to select the event
The attract screen shows the active event with its cover artwork. Guests tap anywhere on the card to begin.
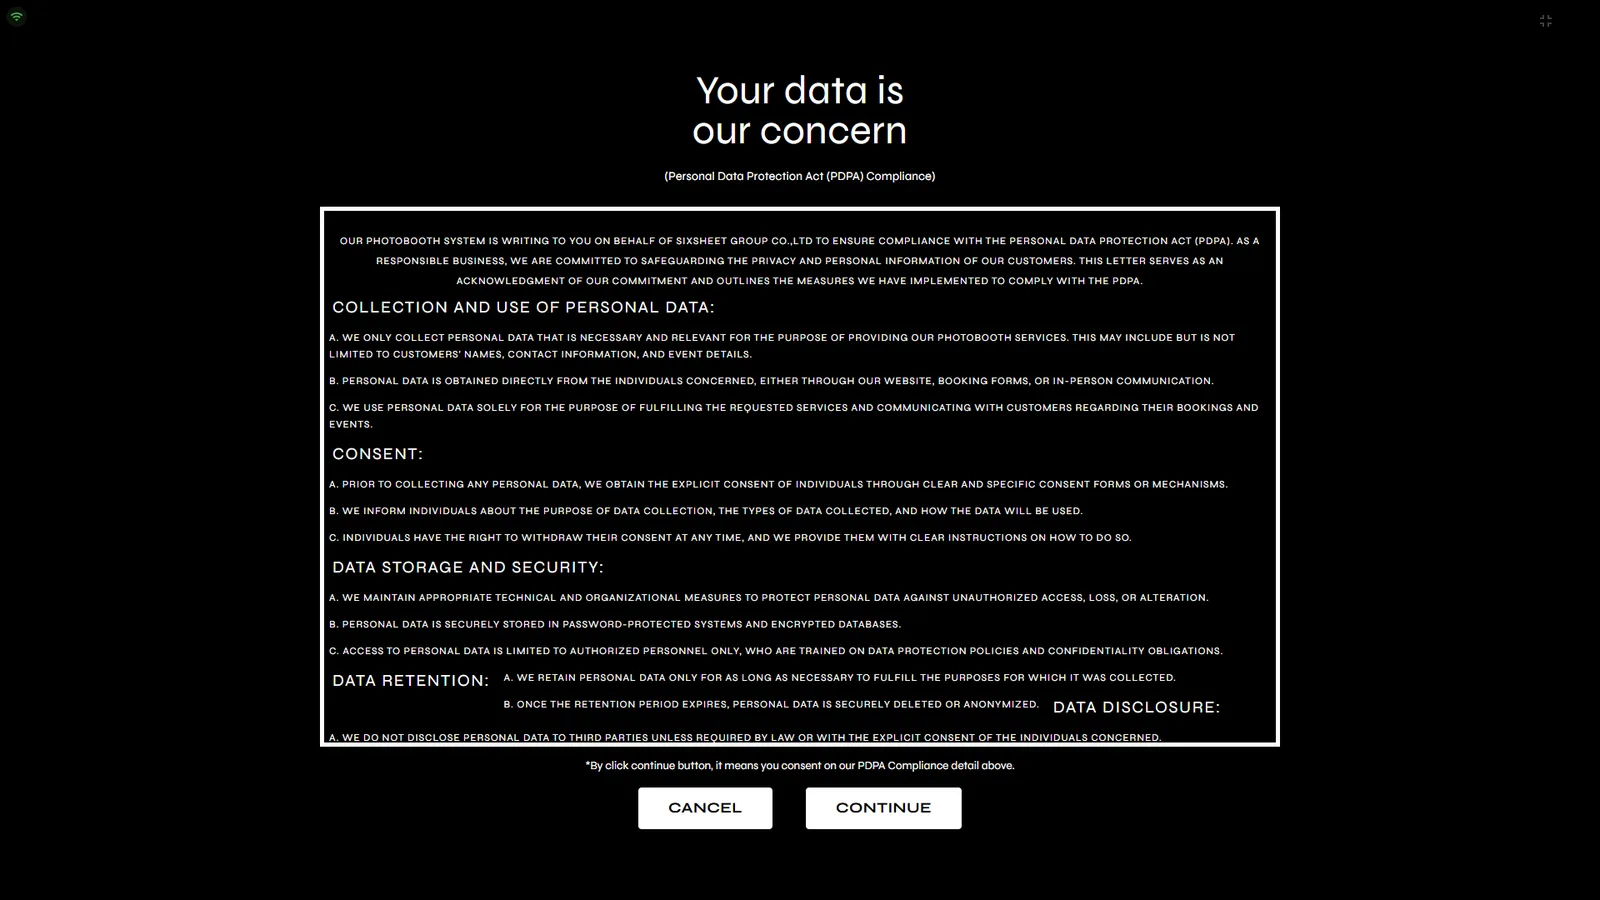
Accept the PDPA notice
A privacy (PDPA) consent screen explains how photos are handled. Guests tap CONTINUE to accept or CANCEL to go back. A per-page timeout can auto-advance this screen (set in GUEST FLOW TIMEOUTS).
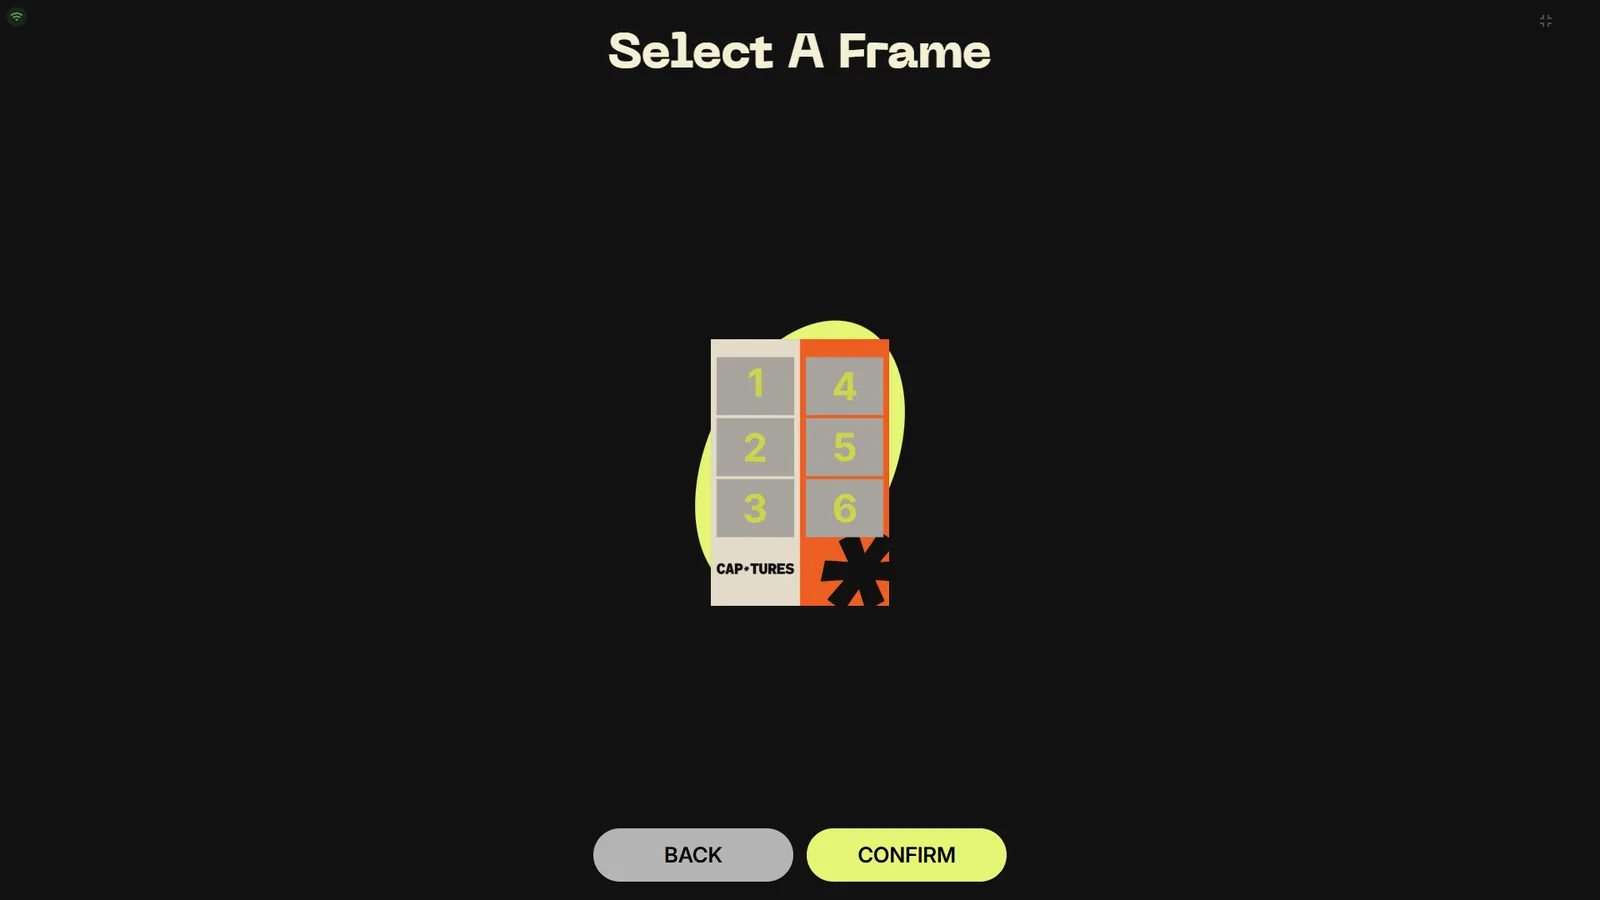
Choose a frame
All frames in the event are shown as thumbnails. The first frame is pre-selected — tap another to switch, then press CONFIRM.
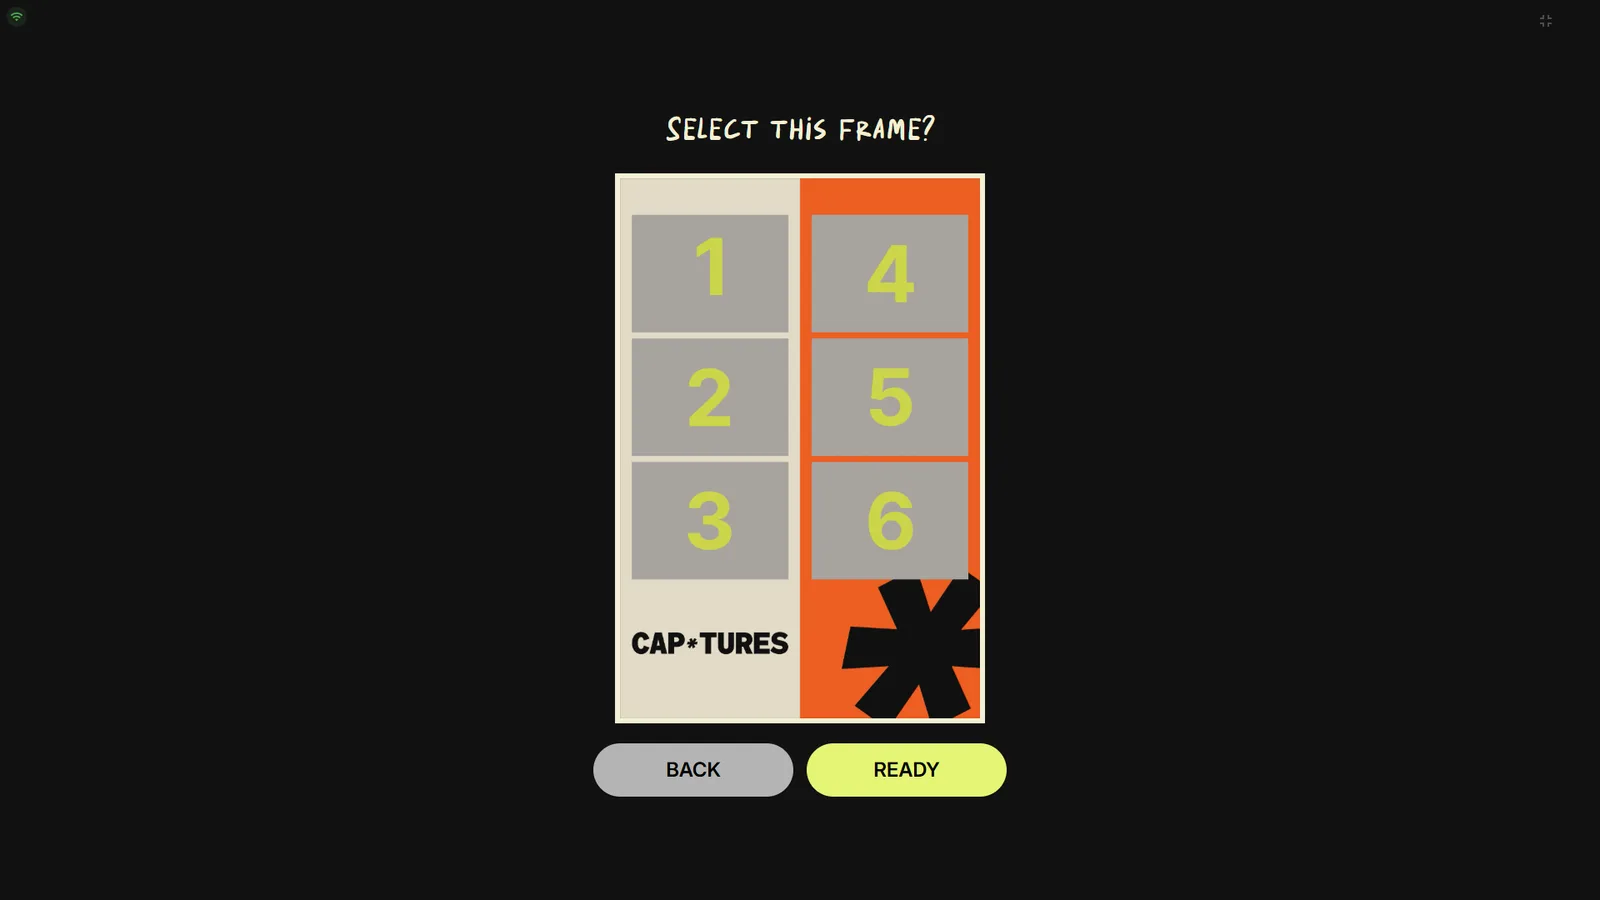
Get ready
The frame preview shows the layout and number of shots. When everyone is in position, tap READY to start the capture sequence. If no printer is connected, a warning dialog appears here first.
Capture, review & decorate
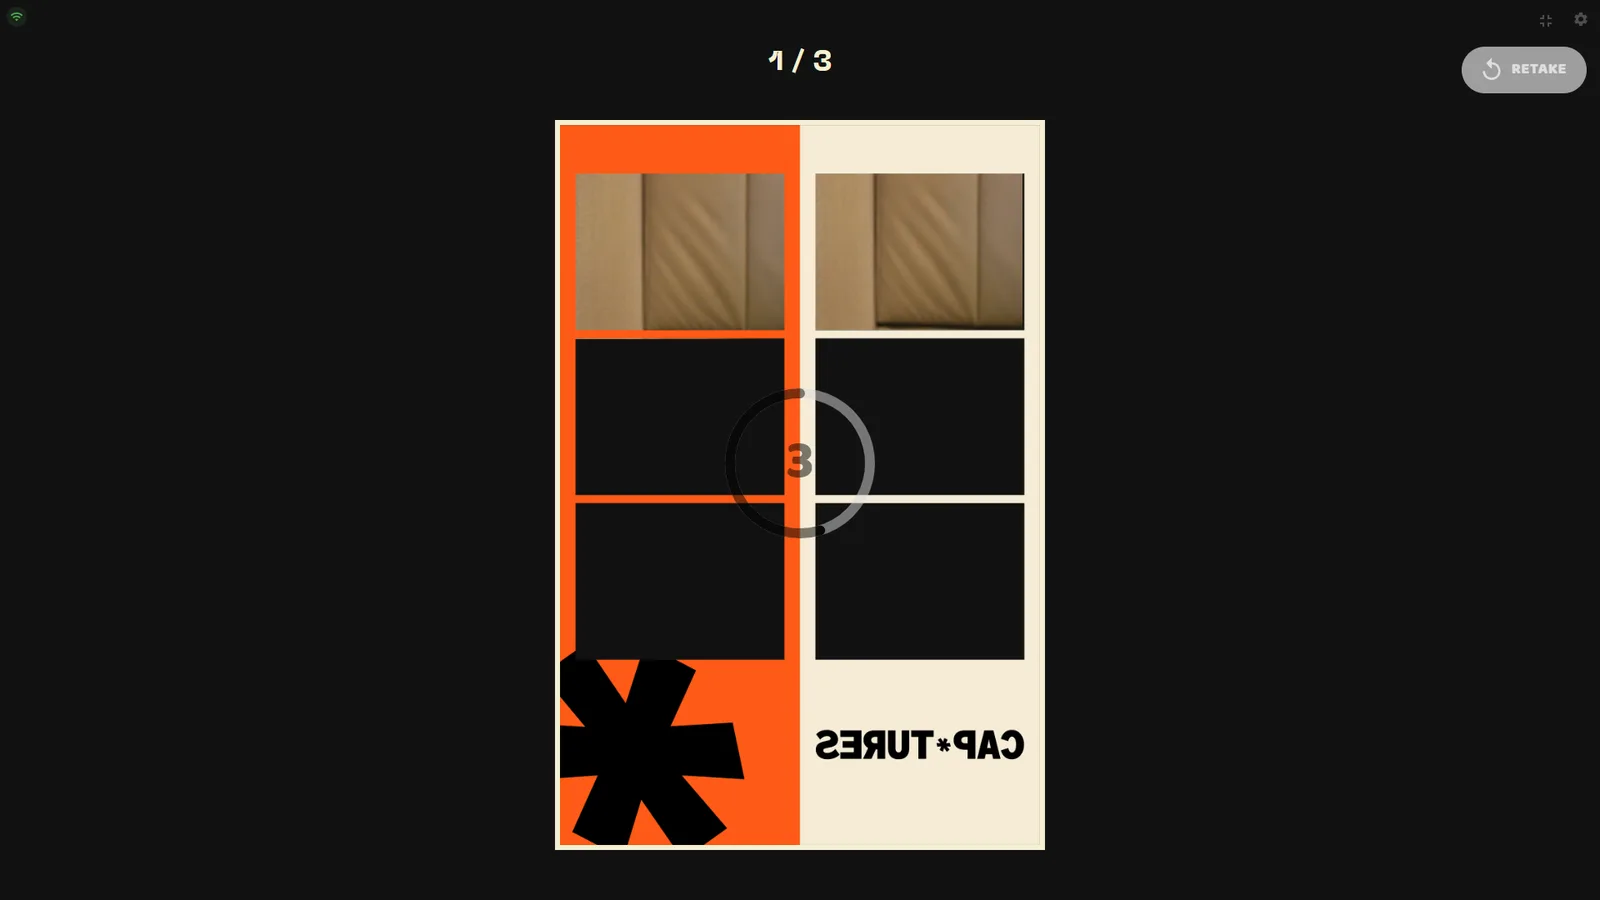
The countdown
Before each shot a countdown runs (1–60 s, set per frame in Capture → Countdown (s)). The operator can pick one of five countdown styles for the whole kiosk in the Presentation tab, and the countdown color per frame under Capture → Appearance.
| Style | Look |
|---|---|
| Circle (default) | Ring around the number, color follows the frame's countdown color |
| Number | Large pulsing number |
| Bar | Horizontal progress bar with the number overlaid |
| Flip | 3D flip-clock card |
| Minimal | Small subtle number at low opacity |
Multi-shot frames
A frame can hold up to 16 photo boxes. The kiosk repeats countdown → capture for every shot in slot order; with a dual-camera frame in Simultaneous mode both cameras fire together so guests pose fewer times.
Review each shotPro
After each capture the photo appears full-screen with a RETAKE button (Pro). Retake Timeout (0 = no limit) controls how long the guest can decide before the flow advances automatically.
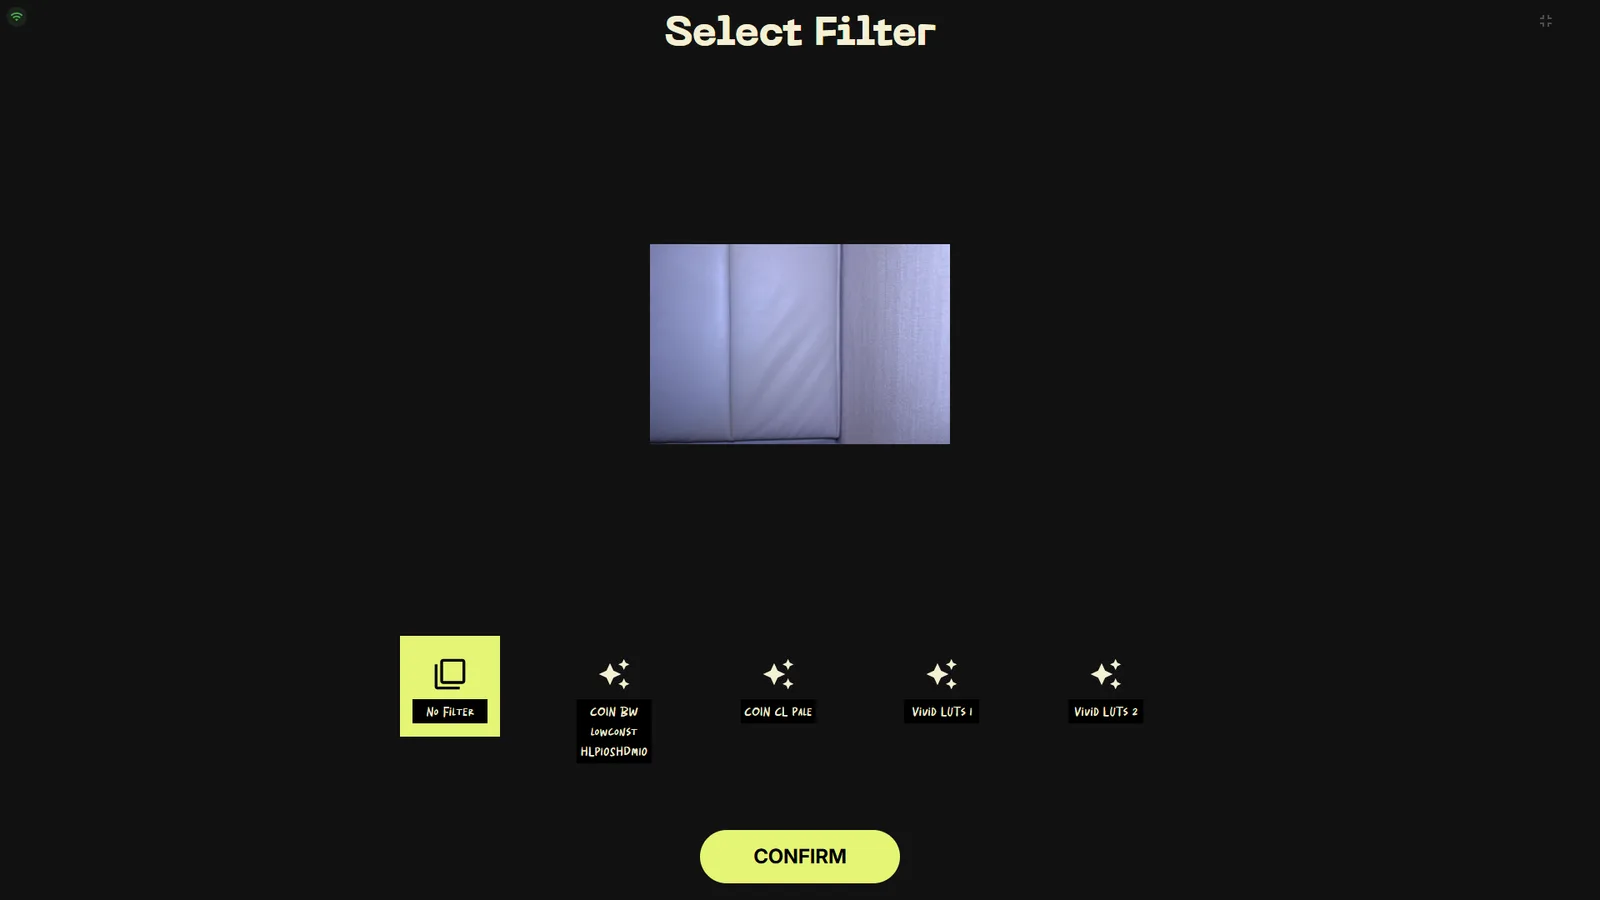
Pick a filterPro
Guests swipe through color filters (LUTs) with a live preview on their actual photos, then press CONFIRM. This page only appears when the frame's Filter Page toggle is on.
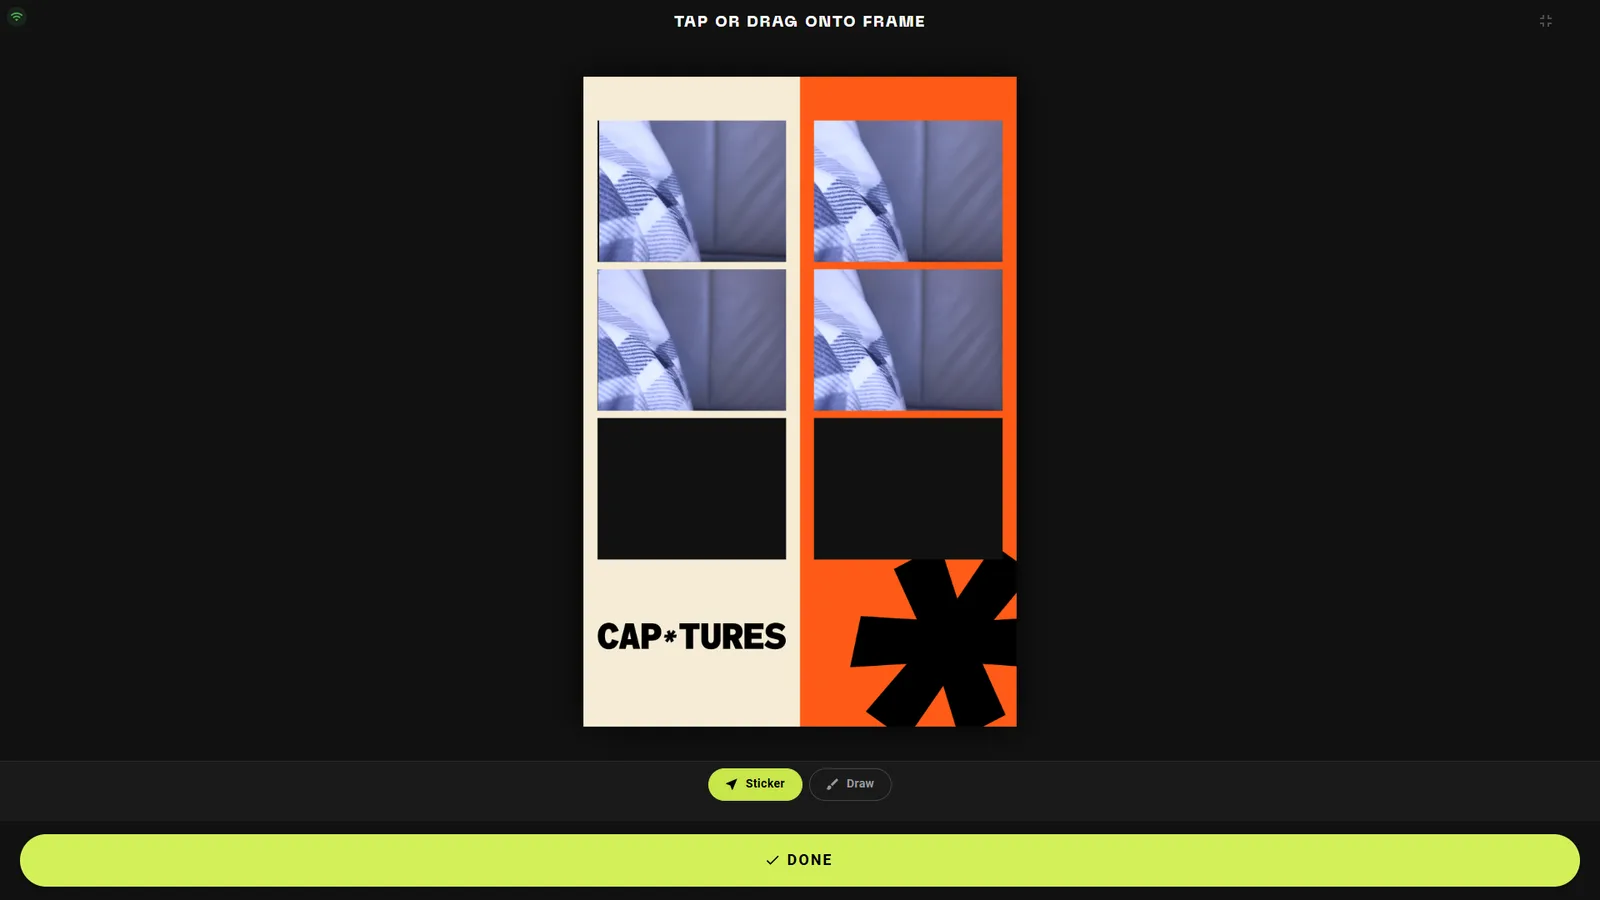
Add stickers or drawingsPro
The sticker editor lets guests tap or drag stickers onto the frame and free-draw with the Draw tool. The frame's Sticker Mode decides what's offered: Both, Sticker only, or Drawing only. Press DONE to finish.
Result & sharing
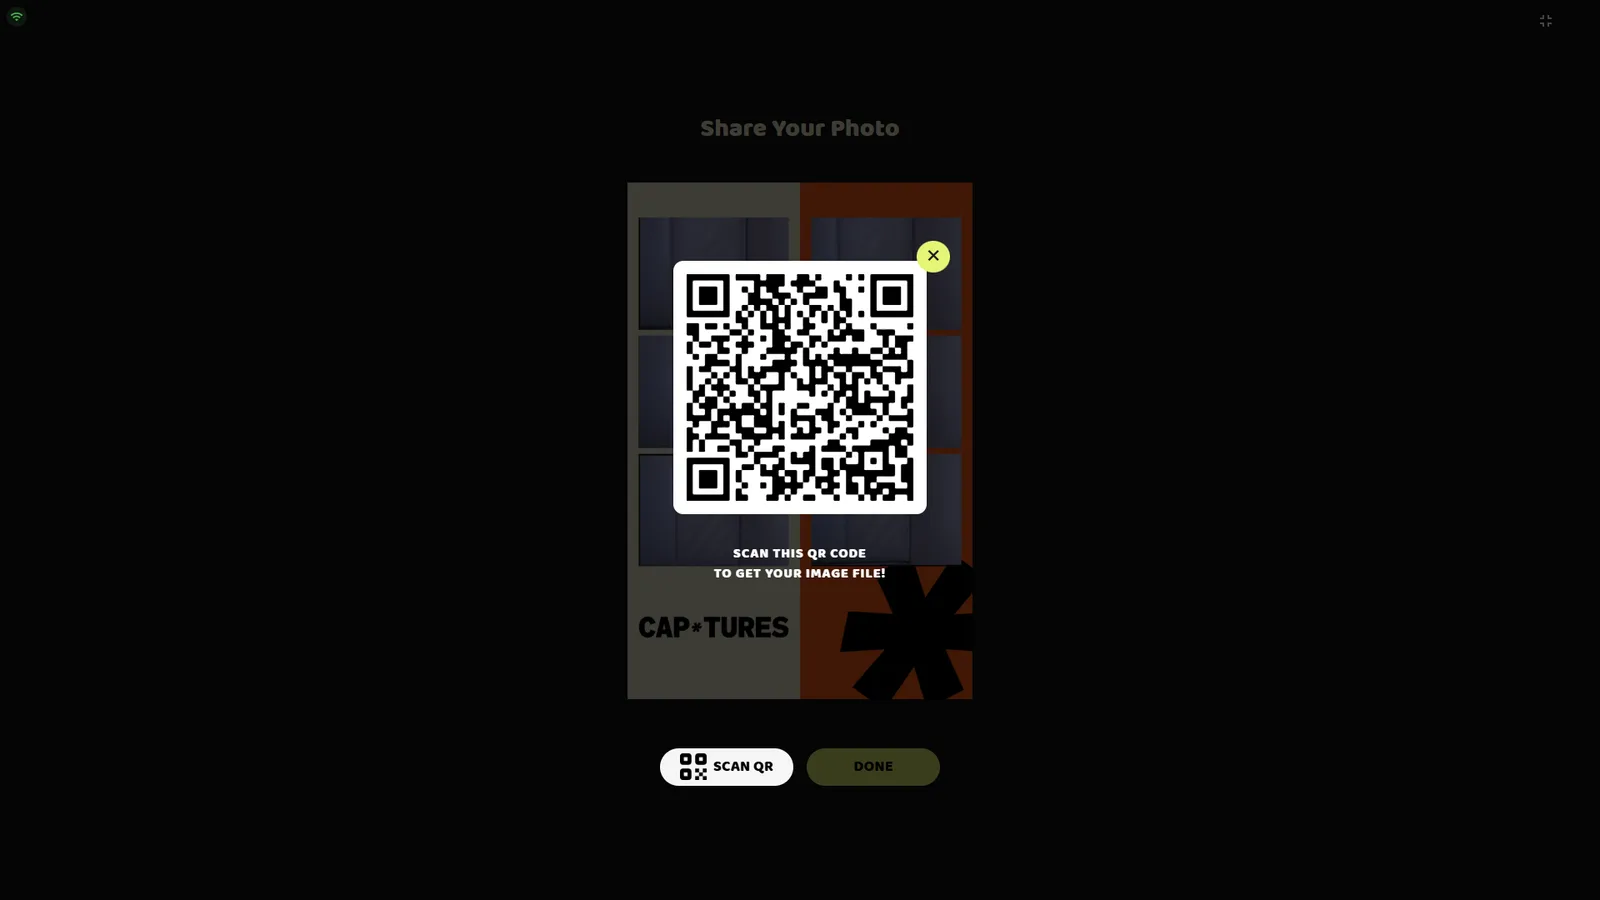
Share your photoPro
The final screen shows the framed result with a QR code — guests scan it to download the digital file while the print job runs. SCAN QR re-opens the code; DONE ends the session. A “Done in 60 seconds” timer returns the kiosk to the attract screen automatically.
Email the photoPro
When email sharing is enabled, an Email button opens a dialog asking for the guest's address and sends the download link through your configured mail server.